In this blog, we’ll dive deep into what API testing is, why Postmanis used, and how you can perform API testing step-by-step usingPostman.
We will also include practical tips, code samples, and real-worldscenarios to help you master API testing.
Want to get hands-on with Postman and API development?
Check out the API Development & Testing Course by Uncodemy, whereyou’ll learn not just Postman but also real-world API integration and automationworkflows.
What is API Testing?
API testing focuses on validating whether the API’s endpoints are working as expected.Instead of testing the front end (UI), API testing deals directly with requests andresponses, ensuring the business logic is correct and the data returned is accurate.
For example:
If you have an e-commerce application, yourGET /productsAPI should always return the correct list of products, thecorrect HTTP status code, and respond within an acceptable time.
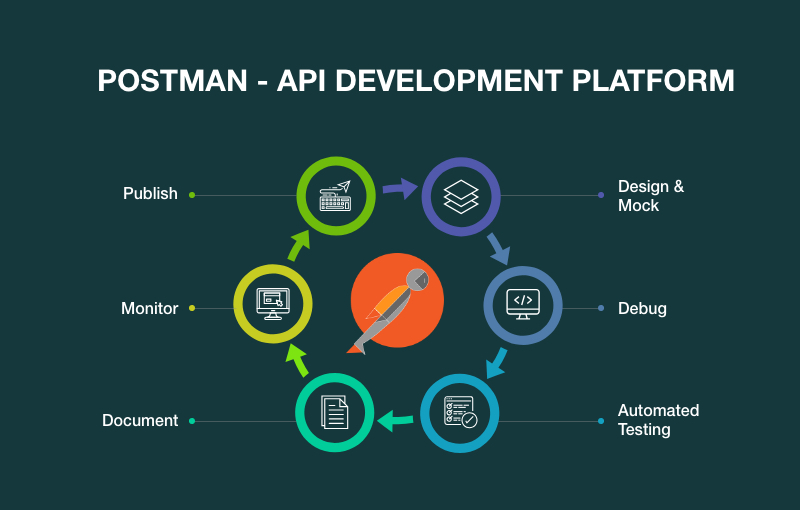
Why Use Postman for API Testing?
Postman is widely popular because:
- It provides an intuitive interface for sending API requests and inspectingresponses.
- No coding is required for basic requests, but scripting capabilities are available foradvanced scenarios.
- Supports multiple request methods: GET, POST, PUT, DELETE, PATCH, etc.
- Allows environment setup for different stages: Development, Staging, andProduction.
- Provides automation features for running test collections.
Setting Up Postman
Before you start testing:
1. Download and Install Postman– Available for Windows, macOS, andLinux.
2. Sign Up or Log In– Helps you sync your collections and environmentsacross devices.
3. Familiarize with the Interface– Key sections:
- Request builder
- Params, Headers, Body tabs
- Response viewer
- Console for debugging
Step-by-Step API Testing in Postman
Step 1: Create a New Request
- Open Postman and click New> Request.
- Name your request (e.g., “Get Product List”).
- Save it inside a collection for better organization.
Step 2: Select HTTP Method and Enter URL
- Choose the correct HTTP method (GET, POST, PUT, DELETE, etc.).
- Paste your API endpoint URL (e.g., https://api.example.com/products).
Step 3: Add Parameters (If Any)
- If your request requires query parameters, add them under theParamstab.
- Example: ?category=electronics&limit=10
Step 4: Add Headers
- Common headers:
- Content-Type: application/json
- Authorization: Bearer token
- Headers are crucial for authentication and telling the API the format of data beingsent.
Copy Code
{ "name": "New Product", "price": 99.99, "category": "electronics"}Step 5: Add Body Data (For POST, PUT, PATCH)
- Choose rawand JSONformat if you’re sending JSONdata.
- Example:
Copy Code
{ "name": "New Product", "price": 99.99, "category": "electronics"}Step 6: Send Request and View Response
- Click Send.
- Review the status code(200 OK, 201 Created, 400 Bad Request,etc.).
- Check the response bodyfor correctness.
- Review response timeto ensure performance standards.
-
Step 7: Write Test Scripts
- In the Teststab, you can add JavaScript-based tests.
- Example:
Copy Code
pm.test("Status code is 200", function (){ pm.response.to.have.status(200)}); pm.test("Response time is less than 500ms", function (){ pm.expect(pm.response.responseTime).to.be.below(500)});Step 8: Save and Organize in Collections
- Group related requests into collections for easy execution.
- Add descriptions for better documentation.
Running Multiple API Tests at Once
Postman allows you to run entire collectionsat once.
This isespecially useful for regression testingwhere you want to ensure that newchanges haven’t broken existing APIs.
Steps:
1. Click on the Collection Runner.
2. Select the environment.
3. Run all requests in the collection.
4. Review detailed test results.
Using Environments in Postman
Environments help you avoid manually changing URLs or variables for different stages.
Example variables:
- base_url=https://dev.example.com
- token=your-auth-token
You can reference variables in your request like:
{{base_url}}/products
Automating API Tests with Newman
Newman is Postman’s command-line tool that lets you run collections from theterminal.
This is especially useful for integrating Postman tests intoCI/CD pipelines.
Example command:
newman run MyCollection.json -e dev_environment.json
Best Practices for API Testing with Postman
1. Use Descriptive Names– Helps identify requests quickly.
2. Keep Tests Modular– One test per request makes debugging easier.
3. Leverage Environments– Avoid hardcoding URLs and tokens.
4. Validate More Than Status Codes– Check response data andstructure.
5. Integrate with CI/CD– Automate testing for continuous feedback.
Common API Testing Scenarios in Postman
- Authentication: Testing login endpoints and token expiry.
- Data Creation: Testing POST requests with valid and invalidpayloads.
- Data Retrieval: Ensuring GET requests return correct and completedata.
- Error Handling: Testing how APIs respond to invalid inputs.
- Performance: Monitoring response times under different loads.
Example: Testing a Login API in Postman
Endpoint:POSThttps://api.example.com/login
Headers:
Content-Type: application/json
Body:
Copy Code
{ "username": "testuser", "password": "securepassword"}Tests:
Copy Code
pm.test("Status is 200", function (){ pm.response.to.have.status(200)}); pm.test("Token is present", function (){ var jsonData=pm.response.json(); pm.expect(jsonData).to.have.property("token")});FAQs on API Testing with Postman
Q1: Is Postman free to use?
Yes, Postman offers a free version withrobust features suitable for most developers.
Q2: Can I test SOAP APIs with Postman?
Yes, Postman supports bothREST and SOAP APIs.
Q3: How do I test APIs that require authentication?
Postmansupports multiple auth methods, including Bearer Tokens, Basic Auth, and OAuth 2.0.
Q4: Can Postman be used for load testing?
Postman is not designedfor heavy load testing. Tools like JMeter are better suited for that.
Q5: Can Postman tests be automated?
Yes, by using Newman orintegrating Postman with CI/CD pipelines.
Conclusion
API testing is a critical part of modern application development, ensuring that systemscommunicate effectively and securely. Postman simplifies this process, making it easy forboth beginners and experts to send requests, validate responses, and automate tests.
By mastering Postman, you not only improve the quality of your APIs but also speed updevelopment cycles, catch bugs early, and build more reliable software.
If you want to take your skills to the next level, join Uncodemy’s API Development& Testing course, where you’ll get practical exposure to Postman,real-world API projects, and automation workflows.