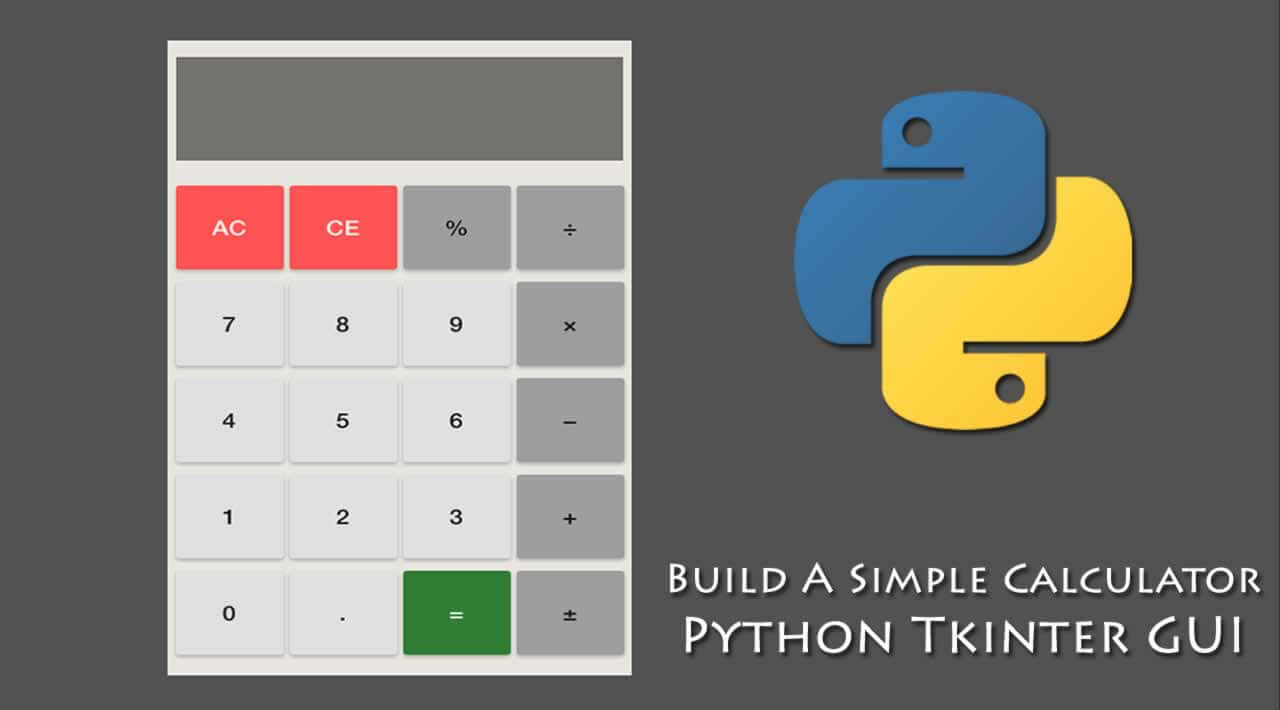
Calculator Program in Python: Simple GUI and Console
Have you ever thought about building a calculator with your own Python code? Whether you're new to coding or enrolled in a Python Programming Course in Noida, creating a calculator program in Python is the perfect beginner project. It’s simple, educational, and touches on key concepts you’ll use in larger projects—like functions, user input, conditional logic, and even GUIs (Graphical User Interfaces).
In this post, we’ll walk you through both console-based and GUI-based versions of a calculator. We’ll also explain each line of code so that you not only copy but understand what you're writing.
Calculator Program in Python: Simple GUI and Console
Mr. Bambam Yadav / 1 days
0
4 min read
Let’s dive in and build a calculator that does more than just add numbers—it boosts your confidence as a budding Python developer.
Why Build a Calculator Program in Python?
Before we jump into the code, let's ask: why is a calculator project so popular in every Python Programming Course in Noida?
Here’s what you get to practice:
User input/output
Conditional statements
Function creation
Basic error handling
GUI programming with Tkinter
In other words, it's the perfect mini-lab to strengthen your Python fundamentals.
Console-Based Calculator Program in Python
This is the classic text-based calculator that runs in the terminal or command line.
Features:
Addition, Subtraction, Multiplication, Division
Takes user input for numbers and operations
Runs until the user chooses to exit
📄 Code:
                          def add(x, y):
                            return x + y

                        def subtract(x, y):
                            return x - y

                        def multiply(x, y):
                            return x * y

                        def divide(x, y):
                            if y == 0:
                                return "Cannot divide by zero!"
                            return x / y

                        while True:
                            print("\nSimple Calculator")
                            print("1. Add")
                            print("2. Subtract")
                            print("3. Multiply")
                            print("4. Divide")
                            print("5. Exit")

                            choice = input("Enter choice (1-5): ")

                            if choice == '5':
                                print("Exiting calculator. Goodbye!")
                                break

                            num1 = float(input("Enter first number: "))
                            num2 = float(input("Enter second number: "))

                            if choice == '1':
                                print("Result:", add(num1, num2))
                            elif choice == '2':
                                print("Result:", subtract(num1, num2))
                            elif choice == '3':
                                print("Result:", multiply(num1, num2))
                            elif choice == '4':
                                print("Result:", divide(num1, num2))
                            else:
                                print("Invalid input. Please choose a number between 1-5.")
What You Learn:
Using if-elif-else
Creating and calling functions
Looping and program flow
Data validation (basic)
This type of calculator program in Python is often your first assignment in structured courses like a Python Programming Course in Noida.
GUI-Based Calculator Program in Python
Once you’re comfortable with the basics, it's time to give your calculator a face. That’s where Tkinter comes in—a built-in Python library for creating desktop GUI applications.
Features:
Clean layout with buttons for numbers and operations
Entry widget to display input/output
Real-time result updates
Code:
                           import tkinter as tk

                            def click(event):
                                button_text = event.widget["text"]
                                current = str(entry.get())

                                if button_text == "=":
                                    try:
                                        result = eval(current)
                                        entry.delete(0, tk.END)
                                        entry.insert(tk.END, result)
                                    except:
                                        entry.delete(0, tk.END)
                                        entry.insert(tk.END, "Error")
                                elif button_text == "C":
                                    entry.delete(0, tk.END)
                                else:
                                    entry.insert(tk.END, button_text)

                            root = tk.Tk()
                            root.title("Python Calculator")

                            entry = tk.Entry(root, font=("Arial", 18), bd=10, relief=tk.SUNKEN, justify="right")
                            entry.grid(row=0, column=0, columnspan=4)

                            buttons = [
                                ['7', '8', '9', '/'],
                                ['4', '5', '6', '*'],
                                ['1', '2', '3', '-'],
                                ['0', 'C', '=', '+']
                            ]

                            for i, row in enumerate(buttons):
                                for j, text in enumerate(row):
                                    btn = tk.Button(root, text=text, font=("Arial", 16), width=5, height=2)
                                    btn.grid(row=i+1, column=j)
                                    btn.bind("", click)

                            root.mainloop()
What You Learn:
Tkinter window layout
Button events
Input/output fields
Expression evaluation with eval()
GUI projects like this are taught in intermediate sections of a comprehensive Python Programming Course in Noida, giving students hands-on experience with real-world applications.
Extending Functionality and Design
Once you’ve created a working GUI calculator, here are ways to make it more advanced:
Add decimal point handling
Keyboard input support (key bindings)
Display expression history
Enable parentheses and operator precedence
Create a dark/light mode switcher
These additions introduce you to concepts like event binding, object-oriented programming (OOP), and dynamic UI adjustments—all covered in more advanced Python training programs.
Comparing Console vs GUI Calculator
Feature
Console Version
GUI Version
User Interface
Text-based
Button-based
Required Libraries
None
Tkinter
Input Method
Terminal keyboard
Button clicks
Complexity
Beginner-friendly
Intermediate
Customizability
Limited
High (themes, fonts, etc)
Both styles are valid, and each offers learning opportunities. As a learner, start with console programs, then transition to GUI projects to level up your skills.
Error Handling in Calculator Program
Even a simple calculator should handle errors—like division by zero or invalid input. You can use try-except blocks to make your program more robust.
                           try:
                            result = eval(current)
                        except ZeroDivisionError:
                            result = "Can't divide by zero!"
                        except Exception as e:
                            result = "Error"
Clean error handling is a good habit to develop early. A reputable Python Programming Course in Noidawill include such best practices.
Building a calculator program in Python is an excellent way to understand programming fundamentals, GUI development, and problem-solving techniques. Python continues to be a preferred language across analytics and data science domains. Students looking to expand their Python expertise can benefit from the Data Science Training Course in Delhi that covers essential tools and technologies used in the industry.
FAQs: Let’s Clear the Doubts
1. Can I build this calculator if I’m just starting with Python?
Absolutely! Start with the console version, then work your way up to GUI. Both are beginner-friendly.
2. What if I want to add more features later?
That’s the beauty of Python. You can enhance your calculator with advanced math, theme customization, and even voice input.
3. Is Tkinter the only way to make GUI apps in Python?
No, but it’s the easiest. You can also use PyQt, Kivy, or even web-based tools like Flask for advanced apps.
4. Will this project be included in a Python course?
Yes, most structured courses like a Python Programming Course in Noida include projects like calculator apps to reinforce learning.
5. Can I make this a mobile app?
You’d need a framework like Kivy or BeeWare. But the logic remains mostly the same!
6. How long will it take to master GUI development in Python?
With consistent practice, you can learn the basics in a few weeks. GUI mastery comes with building multiple apps and refining your UI/UX skills.
7. Are there online platforms where I can run this code?
Yes! Use platforms like Replit, Google Colab (for non-GUI), or install Python and Tkinter on your local machine for GUI development.
Final Thoughts
Building a calculator program in Python is one of the most rewarding beginner projects you can take on. Whether you're coding in the console or designing a slick GUI with Tkinter, you’ll get hands-on practice with real Python programming concepts.
If you're learning on your own or considering structured guidance, joining a Python Programming Course in Noida can provide step-by-step mentorship, projects, and personalized feedback. These small projects build the foundation for bigger ones—like data apps, web platforms, or even AI tools.
Remember: You don’t need to write complex code to start. You just need to start.
So go ahead—open your IDE and build your first Python calculator. You’ll be surprised how much you learn along the way.
Placed Students
Our Clients
Partners
Uncodemy Learning Platform
Uncodemy Free Premium Features
Smart Learning System
Personalized learning paths with interactive materials and progress tracking for optimal learning experience.