In today’s fast-paced development world, just building robust full-stack applications isn’t enough anymore. Developers also have to make sure that deployment is seamless so users can jump right into their projects. For those working with the MERN stack, deployment can feel a bit daunting because of the complexities on both the server and client sides. Luckily, modern platforms like Vercel and Netlify make this whole process a lot easier.
In this blog, we’re going to dive deep into deploying MERN apps using either Vercel or Netlify. We’ll look at the benefits of both platforms and see how they stack up against each other. If you’re a MERN stack developer, this guide will help you choose the best hosting solution while ensuring your app can grow as needed.
Along the way, we’ll also emphasize how mastering deployment is a key part of your development journey. Whether you’re just starting out or you’re a seasoned pro, you can enhance your skills through structured training like the Web Development Course in Noida, which covers modern deployment workflows in detail.
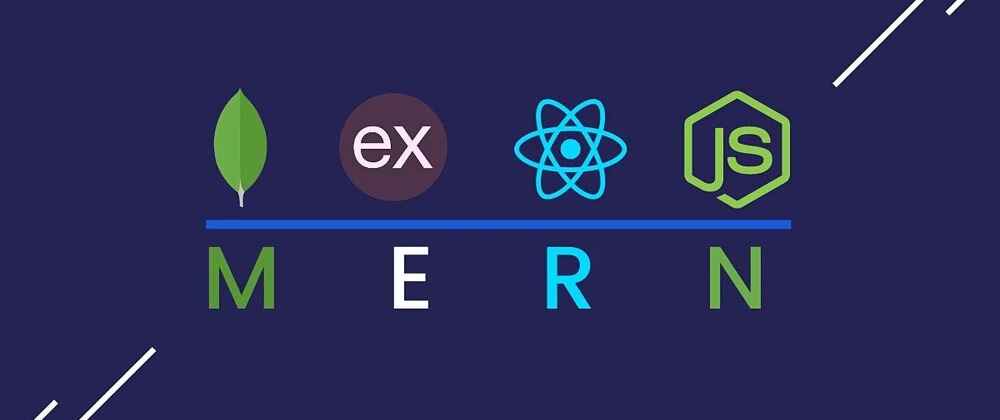
What Is the MERN Stack?
Before we dive into deployment, let’s quickly go over what the MERN stack is:
- MongoDB – A NoSQL database that stores documents in a JSON-like format.
- Express.js – A lightweight backend framework that makes building REST APIs a breeze.
- React.js – A frontend library for creating dynamic user interfaces.
- Node.js – A runtime environment that allows you to run JavaScript on the server.
The MERN stack brings these technologies together to create a full-stack JavaScript environment, making development both fast and efficient. But while coding is just one part of the journey, deployment is where your app truly comes to life.
Why Deployment Matters for MERN Applications
Once you’ve finished building your app, deploying it is crucial because it ensures:
- Accessibility – Anyone can reach your application through a URL.
- Professionalism – A deployed app adds credibility, especially for portfolios or businesses.
- Collaboration – Teams can work together more effectively when the app is live.
Introduction to Vercel and Netlify
Vercel
Vercel is a cloud platform primarily recognized for its frontend deployments, but it has also expanded its capabilities to support backend functions through serverless architecture. Developed by the creators of Next.js, it’s a go-to choice for hosting applications built with React.
Key Features of Vercel:
- Effortless zero-config deployments.
- A global CDN that delivers lightning-fast performance.
- Built-in serverless functions for added flexibility.
- Seamless Git integration with automatic deployments.
Netlify
Netlify is another well-loved deployment platform that provides a similarly user-friendly experience. Tailored for JAMstack applications, it also accommodates serverless functions and backend features, making it a great fit for MERN apps.
Key Features of Netlify:
- Instant continuous deployment to keep your projects up to date.
- Robust build automation to streamline your workflow.
- Edge functions that enhance performance.
- Free SSL and easy custom domain management.
Both platforms prioritize developer productivity, making them fantastic options for hosting MERN applications.
Can You Deploy a MERN Stack on Vercel or Netlify?
Here’s the thing: MERN apps are full-stack applications, which means they encompass both frontend and backend components. Since Vercel and Netlify were originally designed for static sites, deploying MERN apps does require some creative workarounds.
Two Common Approaches:
1.Deploy Frontend and Backend Separately
o Host the React frontend on Vercel or Netlify.
o Deploy the Node.js + Express backend on platforms like Render, Railway, or Heroku.
o Link the frontend to the backend using environment variables.
2.Deploy Using Serverless Functions
o Transform backend routes into serverless functions.
o Keep everything under one project on Vercel or Netlify.
Both methods are effective, though many beginners find it easier to separate the frontend and backend.
Deploying MERN Apps Using Vercel
Let’s break it down step by step.
Step 1: Get the Backend Ready
- Start by creating a dedicated folder for your backend (/server).
- Use MongoDB Atlas to host your database in the cloud.
- Ensure your backend is set to run on a port defined by environment variables.
Step 2: Deploy the Backend (Optional on Other Platforms)
Since Vercel doesn’t traditionally host Node.js servers, you can:
- Deploy your backend on platforms like Render, Heroku, or Railway.
- Grab the URL of your deployed backend.
Step 3: Deploy the Frontend on Vercel
- Push your code to GitHub.
- Head over to Vercel and import your project from GitHub.
- Set up your build settings (npm run build).
- Don’t forget to add your environment variables (like API keys and the backend URL).
- Deploy it all with just one click.
Result: Your React app is now live and connected to your backend.
Deploying MERN Apps Using Netlify
Netlify operates in a similar fashion but with a few different settings.
Step 1: Prepare Your React Frontend
- Make sure your React project builds correctly using npm run build.
- Keep your backend API hosted elsewhere (like Render).
Step 2: Deploy the Frontend on Netlify
- Push your project to GitHub.
- Log in to Netlify and select “New Site from Git.”
- Choose your repository and branch.
- Set up your build settings (npm run build, output folder: /build).
- Add your environment variables in the site settings.
- Deploy it instantly.
Step 3: Add a Custom Domain & SSL
Netlify offers free HTTPS and allows you to map your custom domain easily.
Benefits of Using Vercel or Netlify for MERN Apps
- Faster Deployment Cycles – Push your code, and your app goes live.
- Integrated CI/CD – Auto-builds happen with every Git commit.
- Scalable Infrastructure – No need to manage servers.
- Free Tier Options – Perfect for students and startups.
- Custom Domains – Easily brand your apps with personalized URLs.
Comparing Vercel vs Netlify for MERN Deployment
Feature
Vercel
Netlify
Ease of Use
Extremely simple (one-click deploy)
Very simple (Git-based deploys)
Performance
Fast with global CDN
Fast with edge network
Serverless Functions
Supported (great for APIs)
Supported (great for APIs)
Custom Domains
Supported with free SSL
Supported with free SSL
Best For
React/Next.js apps
JAMstack apps, React apps
Challenges to Think About
- Backend Hosting – Vercel and Netlify aren’t your typical backend hosts. You’ll often need to pair them with another service for things like Express and MongoDB.
- Cold Starts – Serverless functions can take a little while to “wake up” when you need them.
- Complex Configurations – If you’re working on larger applications, you might find yourself needing Docker or Kubernetes, which are more suited for platforms like AWS or DigitalOcean
Final Thoughts
Deploying a MERN app might seem a bit daunting, but platforms like Vercel and Netlify really simplify the process, especially for projects that lean heavily on the frontend. With serverless capabilities, you can even host complete MERN apps if you set things up correctly.
If you’re just kicking off your MERN adventure, getting a handle on deployment will definitely give you an advantage in real-world projects. For a structured approach to learning, the Web Development Course in Noida is a fantastic resource to gain practical experience in full-stack development, deployment strategies, and modern hosting platforms.
FAQs
1. Can I deploy a complete MERN app on Vercel or Netlify?
Absolutely! Just keep in mind that you might need to host your backend separately or utilize serverless functions.
2. Which platform is better for React apps: Vercel or Netlify?
Vercel tends to have a slight edge when it comes to optimizing React/Next.js apps, but Netlify holds its own for JAMstack projects.
3. Is MongoDB supported on Vercel or Netlify?
Not directly, unfortunately. You’ll need to use MongoDB Atlas for your database and connect it through environment variables.
4. Can I host both frontend and backend for free?
Yes, you can! Just be prepared to mix and match free tiers: host your frontend on Vercel or Netlify and your backend on Render or Railway.
5. Do I need Docker for deploying MERN apps?
Not if you’re using Vercel or Netlify. Docker is usually necessary for custom server setups or larger enterprise projects.
Placed Students
Our Clients
Partners
...
Uncodemy Learning Platform
Uncodemy Free Premium Features
Smart Learning System
Personalized learning paths with interactive materials and progress tracking for optimal learning experience.