Table of Contents
- Key Takeaways
-
- Understanding HTML Forms
├─ What is an HTML Form?
├─ How HTML Forms Work
└─ Key HTML Form Elements Explained - 7 Steps to Create an HTML Form
1. Set Up Your HTML Document
2. Add Form Element
3. Create Input Fields
4. Use Labels and Placeholders
5. Add Radio Buttons and Checkboxes
6. Include a Submit Button
7. Add a Dropdown and Textarea (Optional) - Styling Your Form with CSS Basics
├─ Why CSS Makes a Difference
└─ Simple CSS to Get Started - Bonus Tips: Best Practices for Forms
- HTML Form Validation Basics
- Snippet Box (SEO Snippet)
- Conclusion
- FAQs
Key Takeaways
- Learn exactly how to create a form using HTML step-by-step
-
- Understand the basic tags: <form>, <input>, <label>, and more
-
- Follow 7 beginner-friendly steps to build your own form
-
- Learn quick CSS tricks to make your form look great
-
- Avoid common beginner mistakes
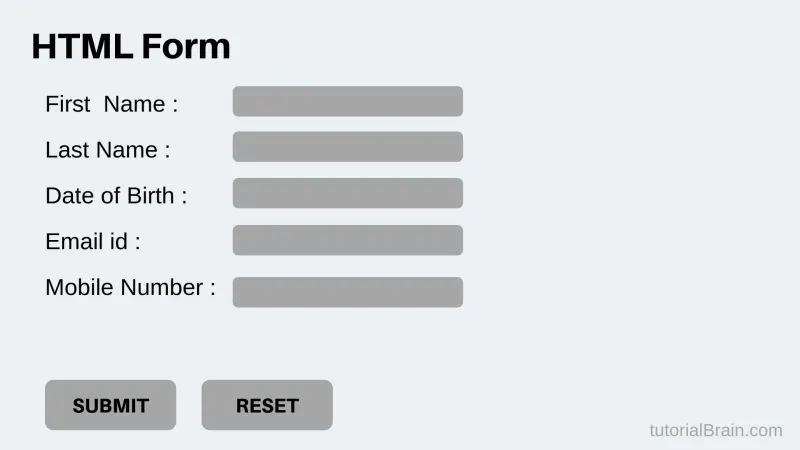
Understanding HTML Forms
What is an HTML Form?
An HTML form is a special part of a website that lets users enter and send information to the website owner. Think of it like a digital notebook that captures answers.
Some simple examples are:
- Newsletter signup forms
-
- Feedback forms
-
- Login pages
-
So if you’ve ever typed your name or email into a box on a website, you’ve already used an HTML form!
HTML forms are important because they help websites collect data and interact with users in real-time.
How HTML Forms Work
At the center of every form is the <form> tag. Inside it, we place different input fields like text boxes, checkboxes, or dropdowns.
When a user fills in the form and hits submit, the data is sent to a server.
There are two ways forms can send data:
- GET: Sends data in the URL (not secure for passwords)
-
- POST: Hides data, safer for sensitive info
-
Let’s understand the HTML form structure using a simple code block:
Copy Code
<form action="/submit" method="post">

  <input type="text" name="username">

  <input type="submit" value="Send">

</form>
This tells the browser:
- Where to send the data (action)
-
- How to send it (method)
-
Key HTML Form Elements Explained
Let’s break down the most common tags used in HTML forms:
- <form>: The wrapper that holds all form fields
-
- <input>: For single-line text, email, or password
-
- <label>: Describes each field for screen readers (important for accessibility)
-
- <textarea>: For longer messages or feedback
-
- <select> & <option>: For dropdowns
-
- <button> or <input type="submit">: To send the form
-
These are the building blocks of any form. Once you understand them, you’re ready to build.
7 Steps to Create an HTML Form
Step 1: Set Up Your HTML Document
Before you build a form, you need a clean HTML file. Here’s a basic HTML boilerplate you can start with:
Copy Code
<!DOCTYPE html>

<html>

<head>

  <title>My First Form</title>

</head>

<body>


<!-- Your form will go here -->


</body>

</html>
Always place the <form> inside the <body> tag. This is your HTML form setup.
Step 2: Add Form Element (<form>)
Now, add the <form> tag. It tells the browser what to do when the form is submitted.
Copy Code
<form action="/submit" method="post">

</form>
- action tells where the form should send data
-
- method="post" keeps your data secure
-
Pro Tip: Always prefer POST for signups, login, or password forms.
Step 3: Create Input Fields
Inside your <form>, you can now add fields for your user to type into.
Copy Code
<input type="text" name="name" placeholder="Enter your name">

<input type="email" name="email" placeholder="Enter your email">

<input type="password" name="password" placeholder="Enter your password">
These HTML input types help guide users to fill out your form correctly.
Step 4: Use Labels and Placeholders
Labels help describe inputs, especially for screen readers. Placeholders show sample text inside the box.
Copy Code
<label for="name">Name:</label>

<input type="text" id="name" name="name" placeholder="Your full name">
- for in <label> connects to the id in <input>
-
- Placeholders improve user experience (UX)
-
Why it matters: Labels are great for accessibility and better form clarity.
Step 5: Add Radio Buttons and Checkboxes
Now let’s add options that users can select.
Use Radio Buttons when users must pick one option:
Radio buttons are grouped using the same name, so only one can be chosen.
Use Check boxes when users can pick multiple options:
Copy Code
<p>Select your interests:</p>
Copy Code
<p>Gender:</p>

<input type="radio" id="male" name="gender" value="male">

<label for="male">Male</label>


<input type="radio" id="female" name="gender" value="female">

<label for="female">Female</label>
<input type="checkbox" id="coding" name="interest" value="coding">

<label for="coding">Coding</label>


<input type="checkbox" id="music" name="interest" value="music">

<label for="music">Music</label>
These are great for hobbies, skills, or anything where more than one choice is allowed.
Step 6: Include a Submit Button
Your form needs a way to send the data. That’s where submit buttons come in.
Copy Code
<input type="submit" value="Submit">
Or use a more flexible version:
Copy Code
<button type="submit">Send Now</button>
You can customize the button text to say things like:
"Send", "Submit", "Register", "Join Us"
Step 7: Optional – Add a Dropdown and Textarea
For some forms, you’ll want to add a dropdown or a larger text box.
🧾 Dropdown (using <select> and <option>):
Copy Code
<label for="country">Choose your country:</label>

<select id="country" name="country">

  <option value="india">India</option>

  <option value="usa">USA</option>

  <option value="uk">UK</option>

</select>
Use this when choices are limited and predefined.
Textarea (for longer answers):
Copy Code
<label for="message">Your message:</label>

<textarea id="message" name="message" rows="4" cols="50" placeholder="Write your feedback here..."></textarea>
Tip: Keep things clean and simple for a better user experience.
Styling Your Form with CSS Basics
Why CSS Makes a Difference
Plain forms can look boring or confusing. With CSS (Cascading Style Sheets), you can make your form easier to read, use, and enjoy.
This is where CSS form styling helps your site look more professional.
Simple CSS to Get Started
Here’s a basic CSS snippet to style your form:
Copy Code
input, select, textarea {

  padding: 10px;

  margin: 8px 0;

  width: 100%;

  box-sizing: border-box;

}


button {

  background-color: #4CAF50;

  color: white;

  padding: 10px;

  border: none;

  cursor: pointer;

}


button:hover {

  background-color: #45a049;

}
Key Styling Tips:
- Add padding and margin to space things out
-
- Use flexbox or display: block for neat alignment
-
- Make sure buttons stand out with hover effects
-
These are the basics of responsive HTML forms, and they work well on mobile too.
Bonus Tips: Best Practices for Forms
Follow These 5 Rules for Better Forms
- Always use labels – they improve accessibility
- Validate user input – check for correct email format, etc.
- Keep forms short – long forms scare users
- Use correct input types – like type="email" or type="tel"
- Make it mobile-friendly – test on small screens
These best practices are based on W3C recommendations and real student feedback.
HTML Form Validation Basics (Client-Side)
Form validation helps make sure users enter the right information before submitting a form. It protects your website from wrong or incomplete data and gives users instant feedback.
HTML5 makes it super easy to add built-in validation without using JavaScript. Here are some simple validation attributes:
- required: Makes the field mandatory
-
- type="email": Checks for correct email format
-
- minlength and maxlength: Set limits on text length
-
- pattern: Adds custom rules (like only numbers or letters)
-
Here’s an example of a validated email input
Copy Code
<input type="email" name="userEmail" required placeholder="Enter your email">
This will not allow the form to submit unless the user enters a proper email.
You can also show custom error messages or use a title to explain input rules.
For most beginner projects, HTML validation is enough. But for complex checks, you can use JavaScript later. It keeps the form lightweight and fast, without needing extra scripts or complex logic.
Snippet Box (for SEO Snippet)
Want to learn how to create a form using HTML step-by-step? Follow our simple guide with clear code examples, easy-to-understand explanations, and real form projects. Perfect for students, beginners, or anyone learning HTML.
Conclusion
You now know how to create a form using HTML step-by-step, starting from setting up your HTML file to adding input fields, styling with CSS, and following best practices.
Try building your own form today. Start with basic input types, then add some style with CSS. Don’t worry about making it perfect. Just keep practicing. Over time, you’ll understand how each form element works together. The more you build, the more confident you'll become with HTML and CSS forms.
With practice, you’ll gain more confidence in writing clean, user-friendly forms.
Need help with CSS? Check our beginner’s CSS styling guide to make your forms look polished and professional!
FAQs
What is the easiest way to create an HTML form?
Use the <form> tag and add input fields like <input type="text"> or <input type="email">. It’s just writing simple tags!
Do I need CSS to create a form in HTML?
No, but CSS helps your form look better and easier to use. Without CSS, your form will look plain.
What is the difference between the GET and POST methods?
GET shows form data in the URL. POST hides it and is better for passwords or private data.
How can I make sure my form is mobile-friendly?
Use CSS with width: 100% on input fields and buttons. Test on your phone screen to see how it looks.
Why isn’t my form working?
Check your input field names, form action URL, and that your submit button is inside the <form> tag.