Table of Contents
- Why Hosting Your Website on GitHub Pages is a Smart Move
- What You Need Before Starting
- Step 1: Create Your GitHub Repository the Right Way
- Step 2: Build and Structure Your Website Files
- Step 3: Upload and Commit Your Website to GitHub
- Step 4: Enable GitHub Pages and Go Live
- Step 5: Custom Domain Setup Made Easy
- Step 6: Update and Maintain Your GitHub Pages Website
- Step 7: Share your projects proudly
- Conclusion: Start Hosting Your Projects Today
- FAQs: GitHub Pages for Students and Career Changers
Why Hosting Your Website on GitHub Pages is a Smart Move
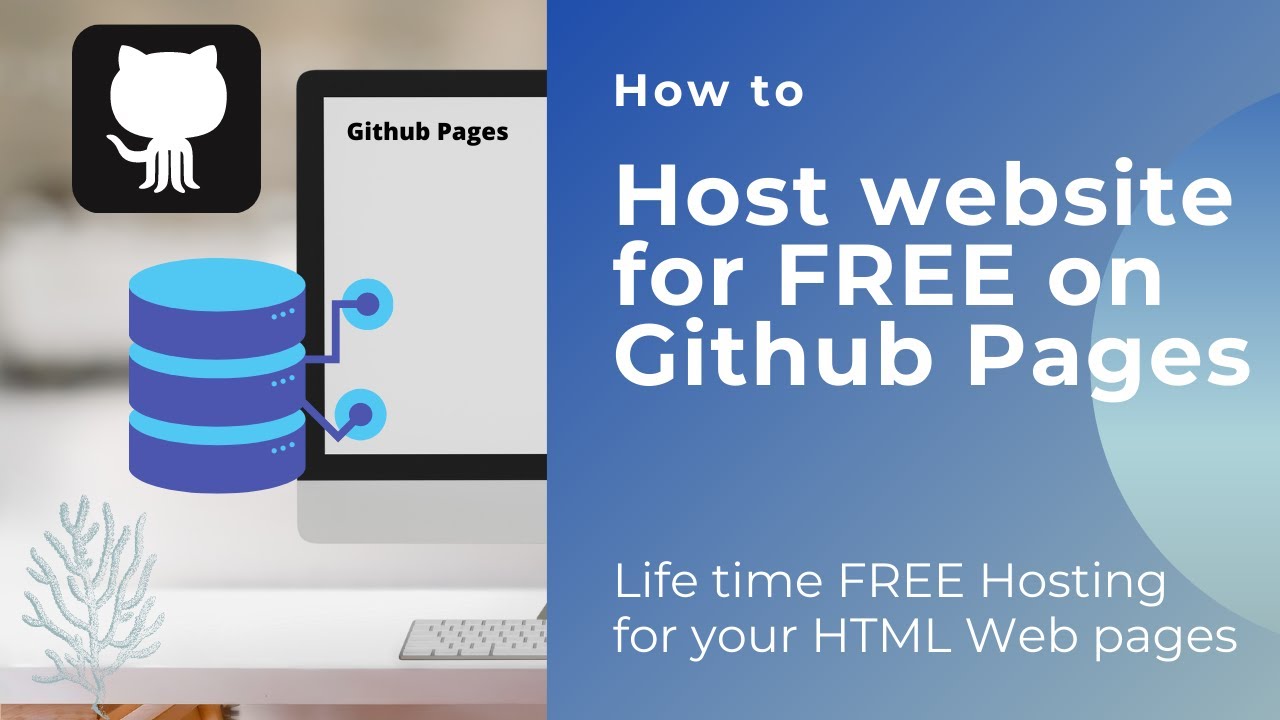
GitHub Pages is a free hosting service that lets you deploy static websites (HTML, CSS, JavaScript) directly from your GitHub repository. It automatically provides SSL certificates for security and is perfect for students, career changers, and developers who want to showcase their projects, resumes, and portfolios.
Why it’s great for you:
- No hosting fees, no hidden charges.
- Helps you practice real-world deployment skills.
- Adds confidence while showcasing projects to recruiters.
- Builds your digital footprint, a key step in your tech career.
What You Need Before Starting (Tools and Accounts)
Before you jump into hosting your first website, ensure:
- A GitHub account (free). If you don’t have one, create it while learning practical skills with ourFull Stack Development Course in Noida.
- Basic understanding of folders and files.
- A text editor like VS Code for editing HTML, CSS, or JavaScript files.
- (Optional but helpful) Git is installed for efficient updates and workflow confidence.
This setup will make your deployment journey smoother and help you understand your project structure.
Step 1: Create Your GitHub Repository the Right Way
Your GitHub repository will act as your website’s home.
1. Go to your GitHub account and click New Repository.
2. Name it clearly (e.g., yourusername.github.io) for your main portfolio or projectname for individual projects.
3. Set the repository to Public so GitHub Pages can deploy it.
4. Add a README file explaining what your project is about. This helps others understand your work while improving your clarity.
Creating your repository the right way keeps your projects organized and easy to maintain.
Step 2: Build and Structure Your Website Files
Now it’s time to build your website:
1. Create an index.html file (your website’s homepage).
2. Create a style.css file for styling.
3. Use folder structures like images/, css/, js/ for better organization.
4. You can use free HTML templates online if you want to start quickly and edit them to learn.
Using GitHub’s online editor: You can create and edit files directly within your GitHub repo using its built-in editor.
Using local development: You can edit files in VS Code and push them via Git for better learning.
Enhance your skills further by exploring ourData Science Course in Noida while working on these projects.
Step 3: Upload and Commit Your Website to GitHub
Now, you need to upload your files to your repository.
➤ Using drag-and-drop: Go to your repository, click Add file > Upload files, and drag your files.
➤ Using Git: If you have Git installed:
- Run git add . to stage files.
- Run git commit -m "Initial commit" to record changes.
- Run git push origin main to upload your files.
What does “commit” mean? It’s like saving a checkpoint for your project.
What does “push” mean? It’s sending your files to GitHub so they appear in your repo.
Explore real-world Git skills practically with our Python Course in Noida while managing your website projects.
Step 4: Enable GitHub Pages and Go Live
Ready to see your website live?
➤ Go to your repository’s Settings > Pages.
➤ Under “Source,” select your branch (usually main) and the folder (/root).
➤ Click Save.
Wait for about a minute, and your site will be live at:
https://yourusername.github.io/your-repo-name
Check your live site, test the links, and share it with friends and recruiters to showcase your skills proudly.
Step 5: Custom Domain Setup Made Easy
Using your custom domain makes your website look professional and builds your brand.
➤ Why use a custom domain?
- It shows recruiters you are serious.
- It makes your site easier to remember.
- It helps build your online presence with credibility.
➤ Steps to connect your custom domain:
1. Buy a domain from trusted providers like Namecheap or GoDaddy.
2. Go to your GitHub repository Settings > Pages.
3. Enter your custom domain in the Custom domain field and save.
4. Update your DNS settings with your domain provider:
- Add A records or CNAME as GitHub instructs.
- It may take a few hours to propagate.
➤ GitHub auto-enables SSL, ensuring your site is secure with https://.
Tip: If you see errors, double-check your DNS settings and wait, as changes can take time.
Step 6: Update and Maintain Your GitHub Pages Website
Your website isn’t “done” after deployment. Updating and maintaining it regularly keeps it fresh and shows growth to recruiters.
How to push updates:
- Make changes in your index.html, style.css, or other files.
- Save your changes.
- Commit (git commit -m "Updated portfolio") and push (git push origin main) if using Git.
- If using the web editor, edit files directly and commit changes.
Version control benefits:
- Track changes easily.
- Roll back if something breaks.
- Learn practical Git skills for real-world projects.
Using branches for updates:
- Create a new branch for big updates.
- Test your changes before merging with the main branch.
If your website does not update:
- Ensure you have committed and pushed the changes.
- Check your GitHub Pages settings.
Updating your site regularly helps you showcase your learning progress and build confidence.
Common Issues When Hosting on GitHub Pages and Fixes
Sometimes, learners face issues while using GitHub Pages. Here are quick troubleshooting tips:
- 404 error after deployment: Check your file names (index.html should be lowercase), repo should be public, and ensure the correct branch is selected in Pages settings.
- Custom domain not working: Check if DNS records are correctly added and wait for propagation.
- Styles not loading: Check file paths, ensure folder and file names match exactly (case-sensitive).
- Changes not reflecting: Clear cache, verify commits are pushed, and check branch selection.
Solving these issues will help you confidently host a static website on GitHub Pages without fear.
Step 7: Share your projects proudly
Now your site is live! What should you put on it?
Ideas for your GitHub Pages site:
- Personal portfolio with your bio and skills.
- A resume site that recruiters can visit easily.
- Project documentation with live demos.
Add value with visuals:
- Project screenshots.
- GitHub repository links.
- A short description of each project.
Tip: Start by hosting one small project. As you learn more in your journey with Git and HTML/CSS, keep adding new projects to your website.
Your live GitHub Pages site will help you present your projects easily during internships and interviews, giving you a real-world advantage.
Conclusion: Start Hosting Your Projects Today
You now know how to host your website on GitHub Pages for free in 7 simple steps. By doing this, you save money while learning real deployment skills,establish your online presence and share your projects with recruiters confidently. Don’t wait any longer.
Build your first website, host it on GitHub Pages, and start your journey towards becoming a confident developer. For structured learning with live projects, you can join Uncodemy’s Full Stack Development Course in Noida to level up your career today.
Search Snippet: How to Host Your Website on GitHub Pages
Learn how to host your website on GitHub Pages for free in 7 easy steps. This student-friendly guide covers creating a repository, uploading your website, enabling GitHub Pages, using a custom domain, and updating your portfolio confidently. Create your digital footprint and present your projects confidently to recruiters with this step-by-step GitHub Pages tutorial.
FAQs
1. What is GitHub Pages, and is it free?
Yes, GitHub Pages is a free hosting service by GitHub, allowing you to deploy static websites using HTML, CSS, and JavaScript directly from your GitHub repository.
2. Can I use GitHub Pages without knowing Git commands?
Yes, you can upload files using GitHub’s web interface. However, learning Git makes your workflow smoother and faster.
3. Is GitHub Pages good for hosting a portfolio?
Absolutely. Many students and developers use GitHub Pages to host portfolios, resumes, and project showcases to share with recruiters.
4. Can I use my domain with GitHub Pages?
Yes, you can connect your custom domain easily in your GitHub Pages settings, adding professionalism to your website.
5. What are the limitations of GitHub Pages?
GitHub Pages only supports static websites (HTML, CSS, JS). For dynamic sites requiring server-side processing, you will need other hosting solutions.
Ready to launch your skills? Host your website on GitHub Pages today to showcase your projects confidently. Want structured guidance and real projects? Explore Uncodemy’s Full Stack course in Noida to level up with mentorship and build your portfolio practically.