Ever felt the thrill of watching your first lines of code actually do something useful? If you’re stepping into the world of Python, building a calculator is a fantastic place to start. It’s not just about crunching numbers—it’s about learning how to interact with users, handle logic, deal with errors, and even design your own interfaces. Whether you’re enrolled in a Python Programming Course in Noida or just tinkering at home, this guide is designed to walk you through every step, like a friendly mentor sitting beside you.
You might be wondering, “Why a calculator?” Well, think of it like learning to ride a bicycle. You need to start with something simple that teaches you balance, coordination, and how all the pieces fit together. A calculator covers:
Basic input and output handling
Using functions to organize your code
Conditional statements to guide logic
Loops (in enhanced versions)
Exception handlingto make the app error-proof
Optionally, building a Graphical User Interface (GUI)
It’s a neat little project that introduces you to core Python concepts in a way that’s easy to grasp.
Tools You’ll Need
Here’s what you’ll need to get started:
Python installed (preferably version 3.x)
A code editor like VS Code, Sublime Text, or even IDLE
Tkinter (for GUI calculator) – don’t worry, it usually comes pre-installed with Python
If you’re taking classes like a Python Programming Course in Noida, your environment will most likely already be set up for you. Otherwise, setting it up at home is super easy.
Quick Refresher: Python Basics
Before diving into code, let’s brush up on some Python fundamentals you’ll be using in the calculator:
input() – to capture what the user types
print() – to display messages or results
if, elif, else – to handle logic
def – to define functions
try/except – to handle errors gracefully
Feeling good so far? Great! Let’s get coding.
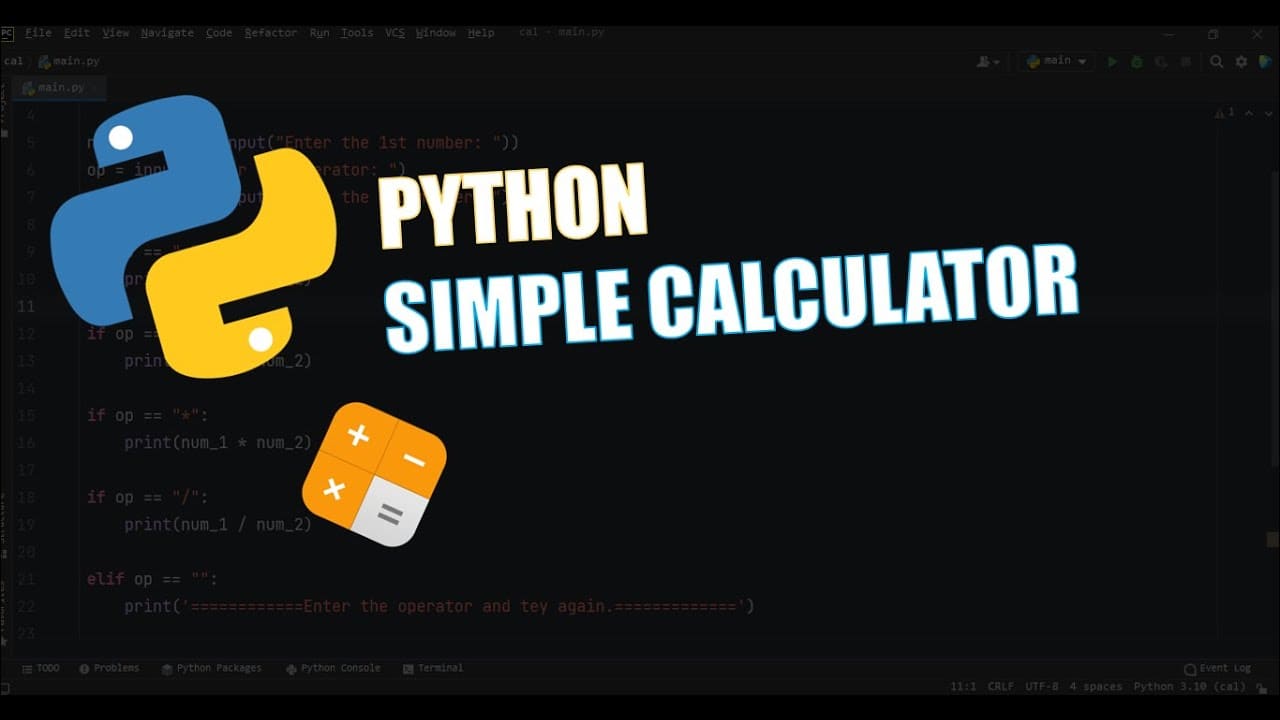
Building a Console-Based Calculator
Alright, let’s start with the basics: a simple console-based calculator that can handle addition, subtraction, multiplication, and division. Here’s what the code looks like:
# Console-Based Calculator in Python
                            def add(x, y):
                                return x + y

                            def subtract(x, y):
                                return x - y

                            def multiply(x, y):
                                return x * y

                            def divide(x, y):
                                try:
                                    return x / y
                                except ZeroDivisionError:
                                    return "Oops! You can’t divide by zero."

                            print("Welcome to the Python Calculator!")
                            print("Choose an operation:")
                            print("1. Add")
                            print("2. Subtract")
                            print("3. Multiply")
                            print("4. Divide")

                            choice = input("Enter choice (1/2/3/4): ")
                            num1 = float(input("Enter first number: "))
                            num2 = float(input("Enter second number: "))

                            if choice == '1':
                                print("Result:", add(num1, num2))
                            elif choice == '2':
                                print("Result:", subtract(num1, num2))
                            elif choice == '3':
                                print("Result:", multiply(num1, num2))
                            elif choice == '4':
                                print("Result:", divide(num1, num2))
                            else:
                                print("That’s not a valid option. Try again.")
Let’s Break It Down
So, what’s happening here?
We’ve got four functions, each one doing a basic operation.
We prompt the user for a choice.
We take two numbers as input.
Based on the choice, we call the corresponding function.
We even handle a division by zero with a friendly error message.
Let’s say you’re feeling confident now. Want to make your calculator cooler? Here are a few enhancements:
Add more operations like modulus, power, and square root
Allow users to perform multiple calculations in a loop
Add input validation to ensure users enter numbers
Keep a log of calculations
Here’s a quick addition:
                            import math

                            def power(x, y):
                                return math.pow(x, y)
Now just add a new choice in the menu and expand your if-elif logic.
Introducing the GUI Calculator
Now it’s time to make things pretty. A GUI (Graphical User Interface) lets users interact with your program through buttons and displays instead of typing into a terminal. It makes your calculator look like a real app.
What We’ll Use
We’ll use Tkinter, Python’s standard GUI library. It’s beginner-friendly and powerful enough for projects like this.
GUI Calculator Code (Step-by-Step)
Here’s a basic but functional GUI calculator using Tkinter:
Tip: Print statements are your best friend when debugging.
What’s Next on Your Python Journey?
Now that you've built a calculator, you’re ready for the next challenge. Here’s what you might explore:
Building converters (temperature, currency)
Creating a to-do app with file storage
Exploring Python libraries like NumPy and Pandas
Learning web development with Flask or Django
Studying Object-Oriented Programming (OOP)
If you're part of a structured program like a Python Programming Course in Noida, your instructors can guide you into these areas step-by-step.
FAQs
Q: Is this the only way to build a calculator in Python?
Absolutely not! Python gives you multiple ways to achieve the same result. You could even build one using object-oriented principles.
Q: Why use Tkinter instead of another GUI library?
Tkinter is simple and built into Python. It’s perfect for beginners.
Q: What if I want to make a scientific calculator?
You can! Just add more operations—trigonometry, logarithms, etc.—using the math module.
Q: How do I run this code on a Mac or Linux?
Python and Tkinter are cross-platform. It should work the same way unless you’re missing a dependency.
Q: Can I build a mobile version?
Yes, but you’ll need to learn frameworks like Kivy or BeeWare for that.
Final Thoughts
There you have it—a fully functional calculator built with Python, both for the console and with a GUI. It’s a project that’s deceptively simple but rich with learning. Whether you’re self-taught or attending aPython Programming Course in Noida, this is a major step forward in your programming journey.
Keep experimenting. Try new features. Break things and fix them. That’s the real fun of coding.
Happy coding, and here’s to many more Python projects ahead!
Placed Students
Our Clients
Partners
Uncodemy Learning Platform
Uncodemy Free Premium Features
Smart Learning System
Personalized learning paths with interactive materials and progress tracking for optimal learning experience.